How to Root African Violet and Prayer Plant Cuttings with the Water-Nest Method Before Replanting
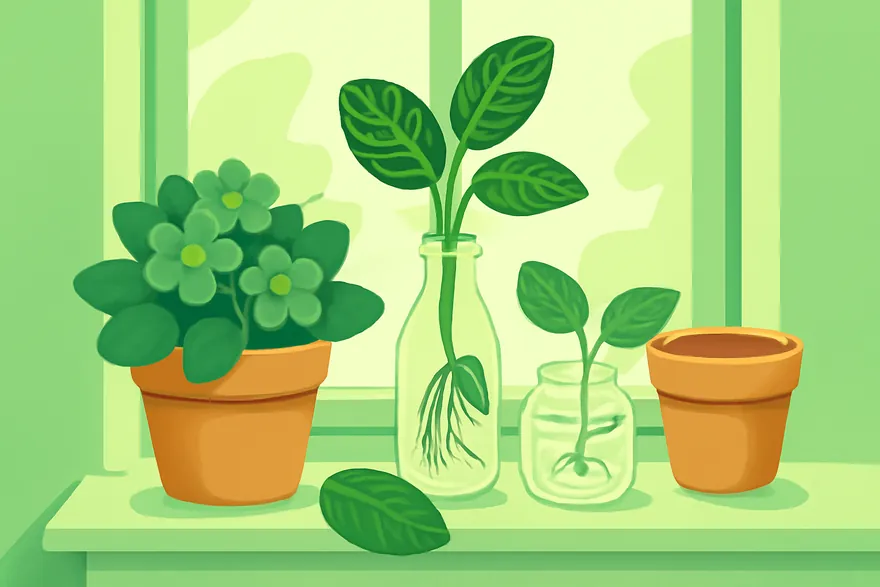
Why a temporary water-nest for these two plants
African violet and prayer plant cuttings are often treated like any other soft-stem plants, but they punish the usual jar method. In practice, many home growers overwater, then under-aerate, and get damping-off, rot at the cut base, or weak roots that collapse as soon as the cutting is moved to potting mix. The water-nest method changes this pattern. Instead of leaving the stem directly in open water, you place a small, clean nest of damp, airy sphagnum around the cut base. The goal is not to soak tissues, but to create a thin, moist interface where root initials can form without full drowning.
In propagation terms, this setup increases callus stability and oxygen access at the same time. Saintpaulia and Maranta both respond well to steady moisture, not saturation. Think in terms of humidity plus breathability rather than wetness alone. If a cutting spends 10 to 14 days with a stable root-primer environment, transplant shock drops sharply. In many home trials, clean sphagnum nests produce fewer fungal failures than static water jars because they do not trap stagnant water around vulnerable stem tissues.
What “clean” means in a real propagation setup
The word clean is not cosmetic in propagation. For this method, it means you reduce initial microbial load. If you reduce pathogens by even one or two orders of magnitude at setup, you often buy the cutting enough time to form a visible root cap before opportunistic fungi invade. You do not need laboratory sterility, but you do need deliberate hygiene.
Prepare once, use immediately
- Choose two containers: one shallow glass or clear jar for temporary hydration (150–300 ml for up to six cuttings), and one narrow-neck jar or bottle for a pre-soak station.
- Use long-fiber sphagnum (non-treated), about 1 packed cup per 6 cuttings.
- Prepare a 1:20 rinse dilution of household bleach in water for tools and container, then rinse with boiled then cooled water.
- Soak the moss for 5 minutes in clean water that has cooled to room temperature, then drain well.
- Keep hands and hands-free tools from touching bare soil before use.
This is a light but strict routine. For these two species, the few minutes you spend cleaning up front replaces many days of rescuing failures.
How to take cuttings for the highest chance of roots
African violet cuttings (Saintpaulia)
Work with vigorous stock: young top growth, not old floppy stems. A practical target length is 3 to 5 inches (about 7.5 to 12.5 cm) from a stem that has at least one node and two healthy nodes from the crown area. A node count matters because auxin-driven root initiation is strongest where meristematic activity remains high.
Cut with a clean pair of sharp, straight shears at a 45-degree angle just below a node. Remove lower leaves, leaving one or two compact top leaves if the piece is sturdy; this reduces transpiration. If leaves are very broad, halve very large ones to keep moisture loss from climbing.
Prayer plant cuttings (Maranta)
Use semi-ripe stem sections from actively growing plants, not old woody cane and not baby tender tips only. Cut 4 to 6 inches (10 to 15 cm) sections with at least two nodes, preferably three. Remove flowers and tender leaf clusters near the tip if excessive.
Prayer plants lose water fast when pruned, so timing helps: cut early in the day and keep the cuttings shaded for 20 to 30 minutes before nesting. If the room is dry, wrap stem ends lightly in damp paper for the walk from sink to setup.
Step-by-step: the water-nest method from first cut to replant
Use this as a repeatable sequence, not a recipe you improvise each week. Consistency is the biggest predictor of rooting success.
Step 1: Build the nest
- Rinse the pre-soaked sphagnum thoroughly and squeeze until it is damp but not dripping.
- In the shallow jar, place a 1 to 1.5 cm layer of the moss. This is your capillary bed.
- Fill the jar with water to just touch the bottom of the moss, usually 1 to 1.5 cm total depth. The moss must be moist from below, not floating in free water.
- Close the jar loosely to reduce contamination without creating a sealed anaerobic environment.
Step 2: Insert cuttings
- Dip the base of each cutting for 2–3 seconds in a mild disinfectant rinse (either hydrogen peroxide 3% diluted 1:20, or plain clean water if you already sterilized strictly).
- Make the first insertion depth about 1 to 1.5 cm (0.4 to 0.6 inches) into the moss at each node zone.
- Set cuttings with nodes touching moss and the stem upright; no pressure needed, let gravity settle contact.
- For prayer plants with multiple nodes, insert at slightly diagonal orientation so one lower node sits near the moistest layer.
Step 3: Environmental control for 0 to 10 days
- Place jar in bright, indirect light. Direct sun is optional only if shaded by at least 50% cloth.
- Keep temperature at 70–77°F (21–25°C). Consistent warmth accelerates meristem repair.
- If room humidity is low, cover the jar with a clear breathable dome or a cut plastic cup with ventilation holes.
- Top up with boiled-cooled water when moss starts looking dry at fingertip level. In most homes this is every 2 to 3 days.
A practical rule: moss should feel barely damp when you press and release a pinch, not swollen and dripping. If it water-logs, roots suffocate and rot risk rises fast.
Step 4: Root checkpoints
- Day 4–7: base tissue should firm up, often with slight callus swelling. If cut base darkens or slips, remove immediately.
- Day 7–10: tiny white nodules form near node lines in healthy African violet pieces.
- Day 10–16: both species should show pale roots, usually 0.5 to 1.5 cm long.
- Day 16–20: roots are generally robust enough for transfer if there are at least three visible tips.
You do not need visible “beards” everywhere; one healthy root system for each cutting is often enough. The failure pattern we most often see is over-mature stems: long internodes and yellowing lower tissue. Those cuttings usually fail regardless of method.
Specialized care rules for African violet and prayer plant cuttings
For African violet in a nest
Violets like stable moisture but resent heat spikes. In summer rooms above 80°F (27°C), lower the ambient by moving to a cooler zone or increasing airflow by one point while keeping moisture. Keep the lower leaves thinly shaven if the piece is thin, because even moderate transpiration can outpace uptake before roots are functional.
At the first 8 days, avoid any fertilizer. Their root initials need plain water. You can switch to a quarter-strength balanced nutrient solution once roots are clearly visible, but never from day one.
For prayer plant in a nest
Prayer plant nodes root faster when they stay upright and slightly ventilated. A good rule is a short fresh-air cycle: 5 minutes open-air in low light morning and evening when RH is above 45%. This lowers fungal pressure and helps stomata behavior remain normal.
If you notice lower nodes drooping while still unrooted, you are too dry and too bright. Move to 12 to 14-hour shade, then rehydrate the moss immediately. It is better to keep light at ~1200 to 1800 lux than to chase bright sun.
Hardening and transferring to substrate
Transfer too early is the biggest hidden cause of “it rooted but died.” Keep the cuttings in the nest until roots are at least 1.5 to 2 cm and the tissue has firm green color. Then move carefully with this sequence.
- Prepare a loose, well-drained potting mix: equal parts peat moss, coco coir, and perlite is a practical base. For prayer plants, add an extra third part drainage grit or small pumice.
- Water new pots lightly and let them drain to nearly field capacity (moist, not wet).
- Transfer one cutting at a time, preserving root balls of moss around each node if possible.
- Set depths so the same nodes previously in water now sit slightly under the medium by 0.5 to 1 cm.
- Water in from below for first two days or with a fine mist to avoid stem displacement.
After transfer, shade for 3 to 5 days, then return to normal brightness. Keep air movement gentle but continuous. If a pot feels dry at surface one day after transfer, water lightly from the tray, not with a direct stream on stems.
Failure modes and practical fixes
- Stem end turns translucent, then brown: immediate rot window. Pull that cutting, discard the end, re-cut below healthy tissue, rinse, and reinsert.
- Moss smells sour: anaerobic conditions; reduce water level and increase ventilation.
- No roots by day 14: cuttings may be too mature or too stressed; take fresher, semi-soft material and shorten day length to 10–12 hours of moderate light.
- Leaves drop: usually excess heat or dehydration. Increase humidity slightly for 24 hours and cut back direct air exposure.
- Rooting is quick but fragile: transfer with minimal disturbance and avoid top-heavy watering for first week.
Evidence-led timing you can trust at home
Propagation success is not mysterious; it is measured. Keep a simple notebook and track four variables: date cut, node count, ambient temperature, and days to first visible root. In practice, you will see a pattern within three batches. If average rooting time falls below 12 days, conditions are likely close to optimal. If it drifts to 18+ days with similar materials, your environment is usually the issue, not the species. The method is most reliable when root appearance in African violet and prayer plant clusters around 7–16 days for first nubs and 12–20 days for transplantable roots under 21–25°C and high but not saturated moisture.
For home journal quality, record failures too. A 50% root rate is often not a botanical limit, it is an environmental signal: too much stress before roots stabilized. Improving water quality, cutting angle, and node depth usually raises outcomes faster than changing species-specific products.
A practical one-week schedule you can follow
- Day 1: Prepare clean materials, build moss nest, make fresh cuttings and insert.
- Day 2–3: Check moisture and shading, no touching unless needed.
- Day 4–7: Lightly open the setup twice daily, top up if needed.
- Day 8–12: Inspect for swelling and first roots; remove any soft-rot samples.
- Day 13–18: Move rooted cuttings to small pots with airy mix when roots pass 1.5 cm.
- Day 19–30: Hardening period under shade, then gradual return to normal room light.
This rhythm works because it respects the biological sequence: wound sealing first, root primordia next, root extension next, then stress adaptation in compost. The water-nest is only temporary, but it is usually enough to make these two houseplants root cleaner and faster than a stagnant jar does.
Final notes for best practice
The clean water-nest method is less glamorous than a fancy propagation station, yet it is ideal for beginners and experienced growers alike because it is visible, repeatable, and forgiving when done correctly. Both African violet and prayer plant cuttings root well under this model because you are giving the cambium exactly what it needs: moisture without suffocation, warmth without heat stress, and a short path to substrate transition. If you use clean materials, modest volumes, and consistent timing, you will usually see healthier roots and fewer losses than with direct water jars. Use the method as a controlled checkpoint phase, then move rooted pieces into quality soil as soon as they can feed themselves.
How to Root African Violet and Prayer Plant Cuttings with the Water-Nest Method Before Replanting
| Method | Result pattern | Critical focus |
|---|---|---|
| Open water jar on stem | Often causes overwatering and under-aeration, with damping-off, cut-base rot, or weak roots that fail after transfer | High risk of stagnant water around vulnerable stem tissues |
| Damp airy sphagnum water-nest | Cleaner setup gives fewer fungal failures than static water jars and is used to reduce stress during rooting | Create a thin, moist interface with root-primer conditions and keep humidity with breathability, not full saturation |
Questions and answers
Why is the water-nest method better than the usual jar method for these plants?
The method is built to avoid the overwatering and under-aeration that often causes damping-off, rot at the base, and weak roots in these cuttings. In the water-nest, damp, airy sphagnum surrounds only the cut base instead of soaking it, so root initials form with both moisture and oxygen access. The method also uses a cleaner setup with reduced initial microbes to slow failures and supports a more stable early root start before transfer.
What is the safest basic setup for the first 10 to 20 days?
Use clean tools and containers, rinse and prepare sphagnum, then place a 1 to 1.5 cm moss layer in a shallow jar with water only touching its bottom. Insert the cutting base about 1 to 1.5 cm so only moist contact is created, keep it in bright indirect light at roughly 70–77°F, and top up only when the moss feels barely damp. Keep humidity balanced with breathable cover, avoid water-logging, and hold off fertilizer for the first 8 days for African violet.